How to Make Your Own iPhone Wallpapers
Apple includes some great wallpapers on the iPhone, the newer the phone, the crisper the resolution. What if you want to create your own wallpaper? Anyone can grab a photo from the internet, save it to the Camera Roll, then make that photo into wallpaper for the home screen and/or lock screen. Imagine how creative you can be if you make your own wallpapers; making one to match the color scheme of your iPhone case, or adding your own favorite design(s). Whether you own a PC or Mac, here's how to do that!
Are you using a PC? If you don't have a good paint program (MS Paint doesn't count), I recommend downloading the free, fully loaded program (not shareware) Paint.net. It allows you to work with layers and more, just like Photoshop. If you're using a Mac and don't have Photoshop (I sure as hell can't afford it), I recommend using Pixelmator ($15), which can be downloaded from the App Store. OS X's built-in Preview program for viewing images allows you to add circles and lines, but I don't recommend it for image creation.
For both Mac and PC users, I also recommend downloading Dropbox (free). Dropbox is a cloud-based storage for personal files, but also lets you share designated files publicly with Dropbox and non-Dropbox users. It gives you more flexibility and power than Apple's iCloud service. The program will be used to transfer your creative ideas TO the iPhone rather than grabbing items from the iPhone. You'll need to download the program to both your Mac or PC and your iPhone, but both the computer application and the iOS application are free.
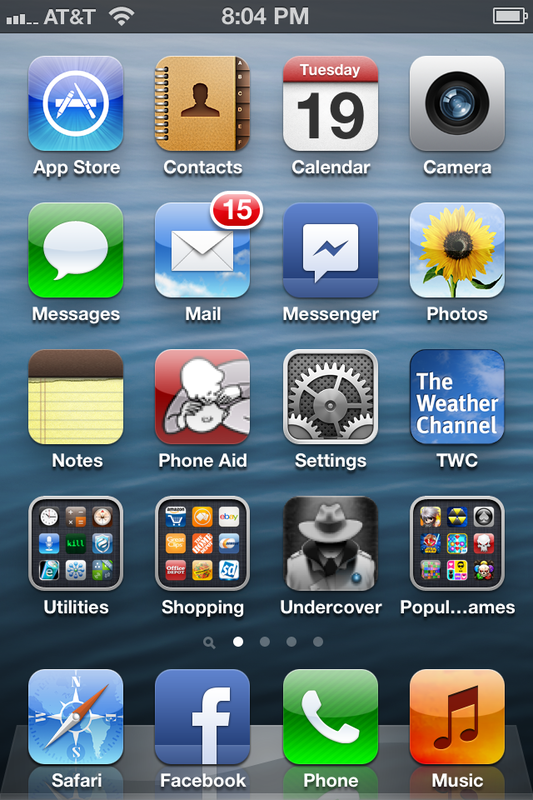
The next thing you'll need to do is take a picture of the iPhone screen to get the dimensions of what you'll be working with. To do this, hold down the home button while pressing the on/off button at the top. When you hear a camera click, that tells you that the screen shot was taken and resides in the camera roll. Below is a screen shot shrunken down for size, but click the image for the full-size version so you can see what you'll be working with:
Are you using a PC? If you don't have a good paint program (MS Paint doesn't count), I recommend downloading the free, fully loaded program (not shareware) Paint.net. It allows you to work with layers and more, just like Photoshop. If you're using a Mac and don't have Photoshop (I sure as hell can't afford it), I recommend using Pixelmator ($15), which can be downloaded from the App Store. OS X's built-in Preview program for viewing images allows you to add circles and lines, but I don't recommend it for image creation.
For both Mac and PC users, I also recommend downloading Dropbox (free). Dropbox is a cloud-based storage for personal files, but also lets you share designated files publicly with Dropbox and non-Dropbox users. It gives you more flexibility and power than Apple's iCloud service. The program will be used to transfer your creative ideas TO the iPhone rather than grabbing items from the iPhone. You'll need to download the program to both your Mac or PC and your iPhone, but both the computer application and the iOS application are free.
The next thing you'll need to do is take a picture of the iPhone screen to get the dimensions of what you'll be working with. To do this, hold down the home button while pressing the on/off button at the top. When you hear a camera click, that tells you that the screen shot was taken and resides in the camera roll. Below is a screen shot shrunken down for size, but click the image for the full-size version so you can see what you'll be working with:
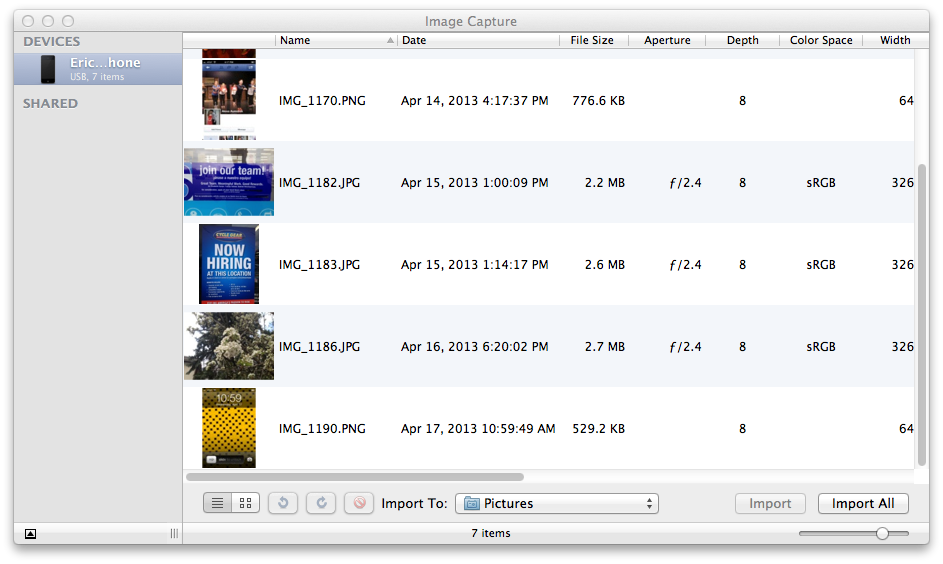
Now you can connect your iPhone to your computer, and download the screenshot. Here's how it looks on the Mac using Image Capture:
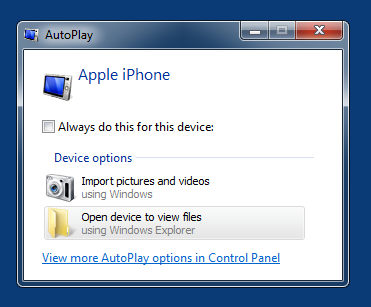
...and here is how it looks under Windows:
Import the screen shot to the location you choose, then open the painting program you're using, and open the screen shot from your iPhone. Here's what it looks like using Paint.net (click for full-size image):
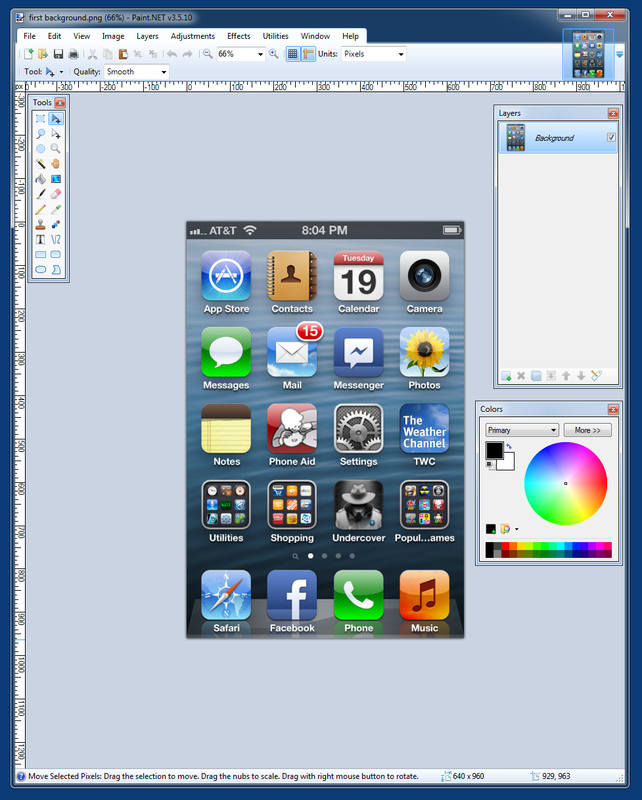
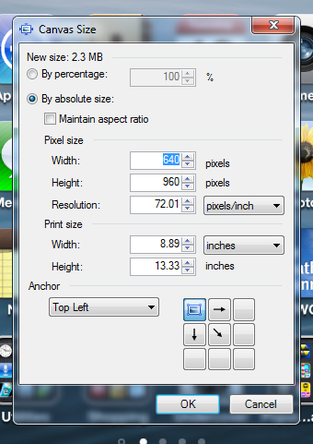
By going to the menu bar and selecting Image --> Canvas Size, you'll get the following window. The resolution shows 640 pixels wide by 960 pixels high. Because the graphic is for viewing on a computer screen and not used for actual paper printing, the resolution is 72 (rounded off) pixels per inch. You can leave these settings as-is.
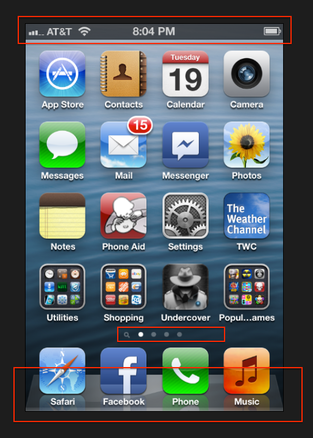
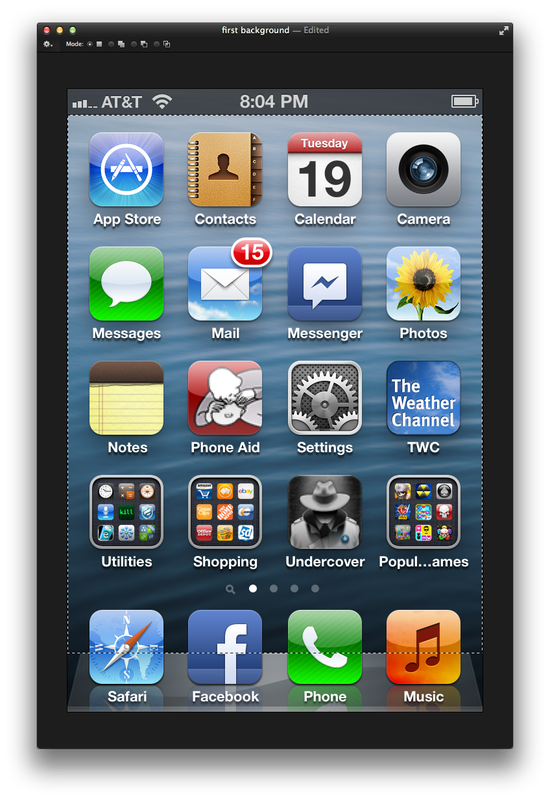
Before you start cranking out great ideas in the paint program, think of what you'll be working with. The image below shows certain aspects of the user interface that can't be altered, highlighted with red rectangles. If you create a background to look like an arcade cabinet, the edges may not look right as the icons to the left and right will overlap. Any marquee at the top won't look right with the top menu bar overlapping it. Any arcade-style controls won't look right either, as the bottom tray with the four slots for frequently-used apps get placed there. Don't forget the small dots noting the number of screens above the bottom tray.
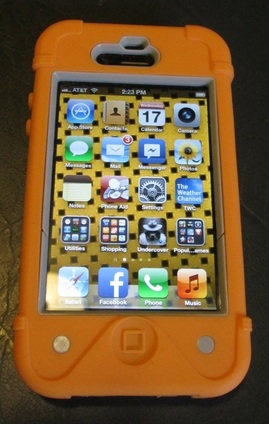
I created a test background to and match the theme:
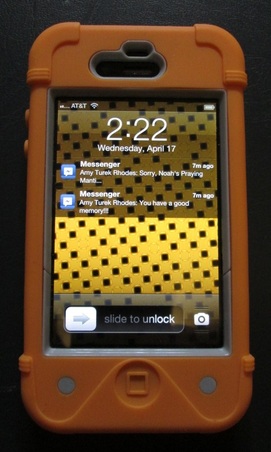
...but when viewing the home screens, the background made the icons hard to distinguish:
Back at the paint program, you'll need to select certain parts or everything to start from a blank slate. An easy way is to simply select the rectangular selection icon (looks like a rectangle with dashes), then select all (Control+A on a PC, Command+A on a Mac), then press backspace. This will delete the entire graphic leaving behind only a gray and white checkerboard; a blank slate. From there you can use the paint bucket tool, select a color, then click anywhere on the blank area to cover the area just one solid color.
A very cool tool that both Paint.net and Pixelmator use is the Magic Wand. When clicked, this selects similar colors in the same area instead of just one color. Here I'm using the Magic Wand in Pixelmator to select the background. I click the mouse in one area, and the further I drag the mouse, the more colors get picked up:
A very cool tool that both Paint.net and Pixelmator use is the Magic Wand. When clicked, this selects similar colors in the same area instead of just one color. Here I'm using the Magic Wand in Pixelmator to select the background. I click the mouse in one area, and the further I drag the mouse, the more colors get picked up:
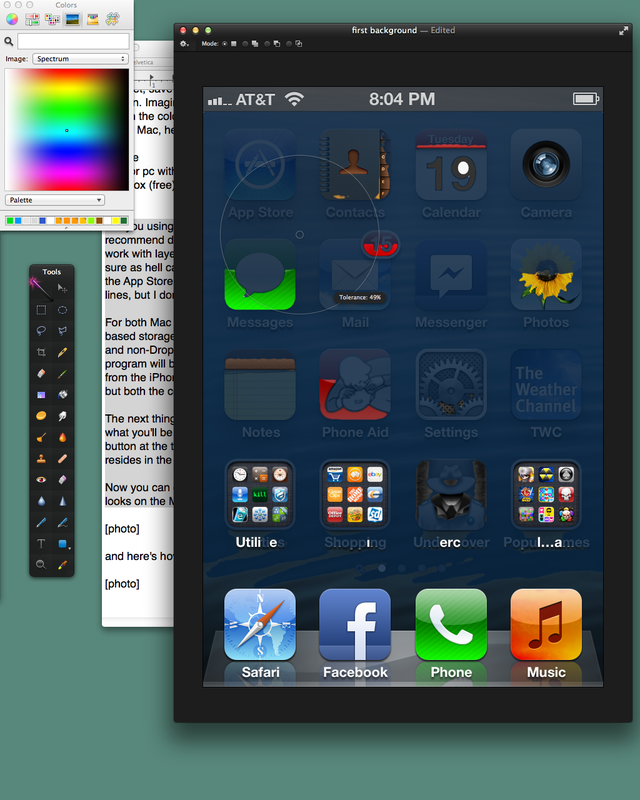
When I have selected an area I'm comfortable with, I release the mouse to see the selected area with marching ants:

Pressing Delete or Backspace removes the selected area:
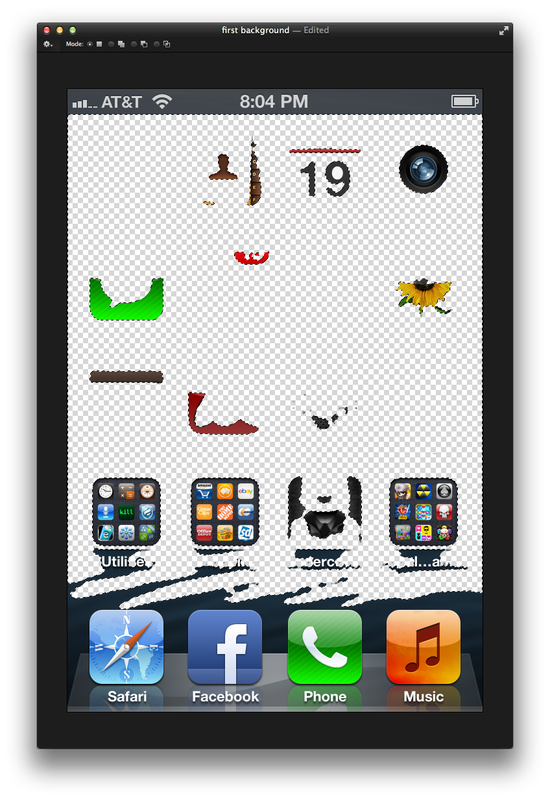
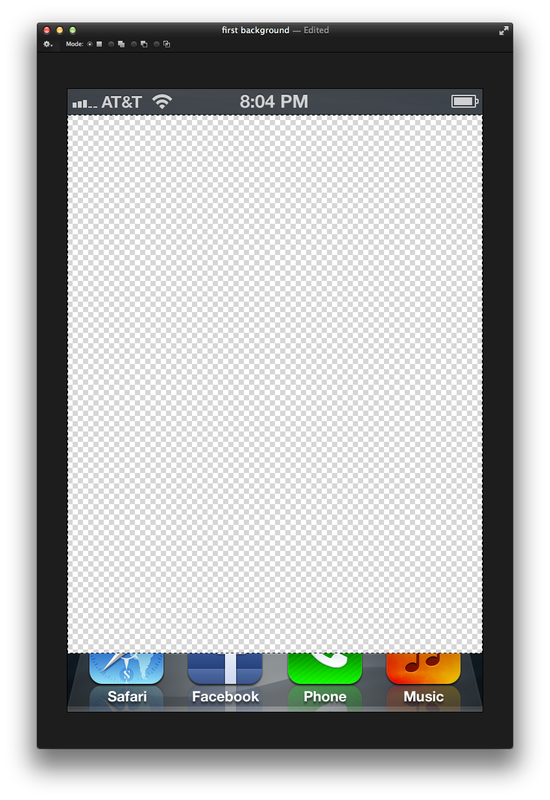
Of course, it makes no sense to leave that the way it is and use that as a background. But that's just an example of how to use the Magic Wand tool. Let's start over and use the rectangular selection tool to grab just the area with the icons, leaving the top bar and bottom tray untouched:
Pressing Backspace or Delete will remove the area you selected:
There can still be touches made to this, such as using the Magic Wand tool to select and remove the triangles to the left and right of the dock. But you can also just leave this as-is and use it as a guideline. Paint.net, Pixelmator, and other paint and illustration programs let you work with layers. You can hide or expose these layers, and even set the transparency independent of each layer. For example, let's say we want to have the background appear like the shelving from the Apple Books app. We can use the shape tool to add lines, but how will we know where exactly to place the lines so that the icons and resting consistent with the other lines or "shelves"?
In the example below (click to enlarge), I took the original background with the icons and changed the transparency to 37%. Then I made one shape which was a single line stretching from one end to the other. I then copied and pasted this three more times, each time causing a new layer to be added. Setting the background to a degree of transparency made it easy for me to arrange each horizontal line perfectly with the other.
In the example below (click to enlarge), I took the original background with the icons and changed the transparency to 37%. Then I made one shape which was a single line stretching from one end to the other. I then copied and pasted this three more times, each time causing a new layer to be added. Setting the background to a degree of transparency made it easy for me to arrange each horizontal line perfectly with the other.
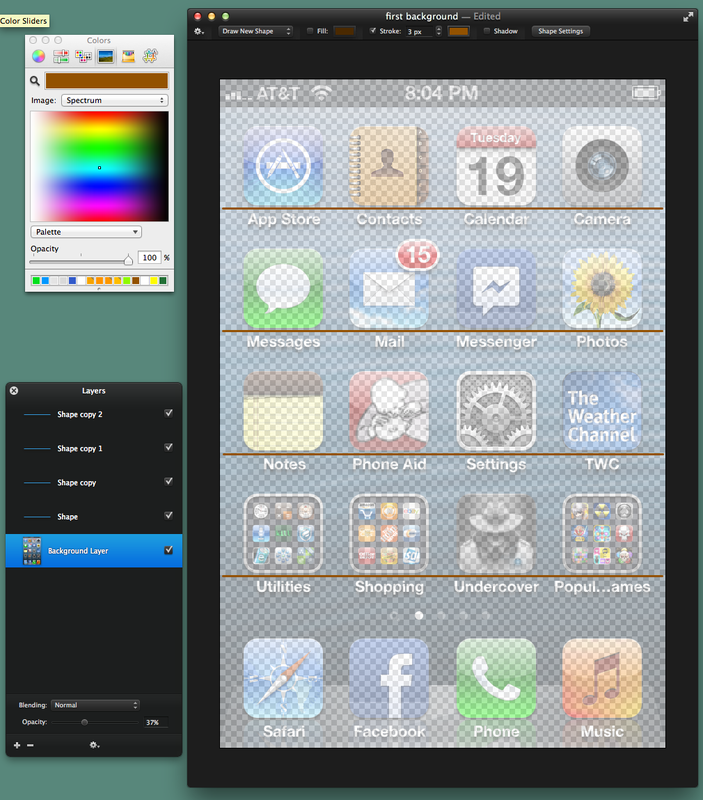
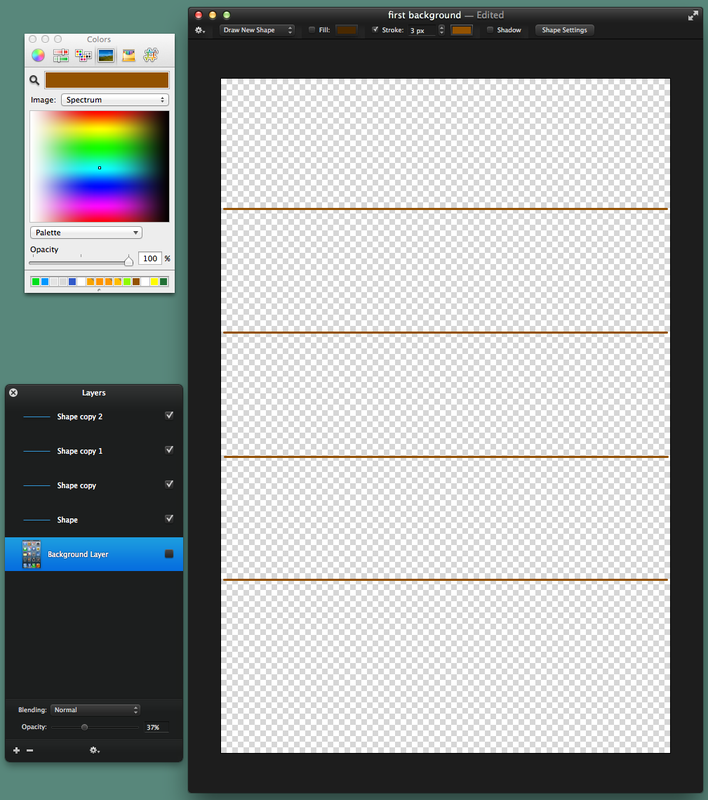
Now I can go ahead and start working on the background of the "shelves", the slope of the "shelves", and more. When I'm finished, I can go ahead and hide the transparent background exposing only the work I created. Look closely at the Layers window in the bottom left and you'll see the background image named "Background Layer" in unchecked, making it invisible.
That technique is better used when creating precise backgrounds that interact with the main screen and icons. If you wanted to create a Pac Man-like background, it would be helpful to mark the location of the icons so you'll know where to place the double blue lines that act as walls in the game.
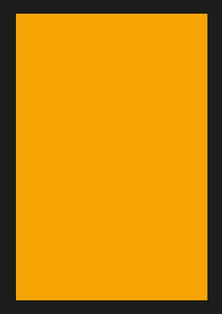
If you're starting out for the first time, use Select All, delete the entire graphic and start from scratch. Start by making a solid background (picture shrunk down for this example):
If you're starting out for the first time, use Select All, delete the entire graphic and start from scratch. Start by making a solid background (picture shrunk down for this example):
Pretty dull, huh? Now let's add something else to it. Ensure the Layers window is visible in the program you're using, then click the plus button to create a second layer. Here the Layers window of Pixelmator is shown. The second layer has already been added, but the add layer icon (plus symbol) is circled in red at the lower left:
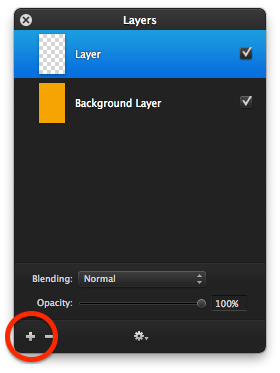
Note: When you're working with layers, the currently highlighted layer is the one that will be affected when you edit or change anything on the screen. In the above example, the layer "Background Layer" is unselected, but the newly added layer called "Layer" is currently selected. You can also double-click the name of the layer to rename it something descriptive to help you along the way.
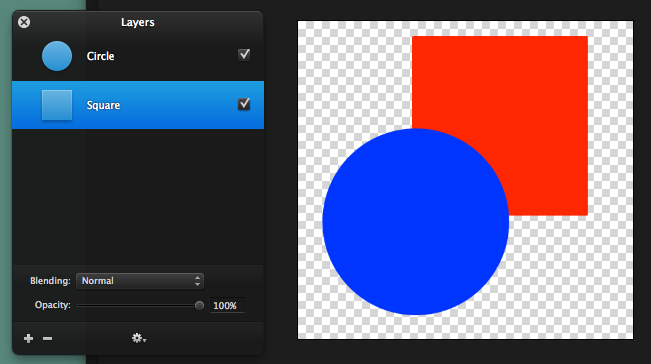
Also note that the layer order is of equal importance. The example below shows two layers; a circle and a square. The square is the highlighted layer, but it's the top-most layer that get's precedence. The circle is the top-most layer, so the circle shape is overlapping the square.
Also note that the layer order is of equal importance. The example below shows two layers; a circle and a square. The square is the highlighted layer, but it's the top-most layer that get's precedence. The circle is the top-most layer, so the circle shape is overlapping the square.
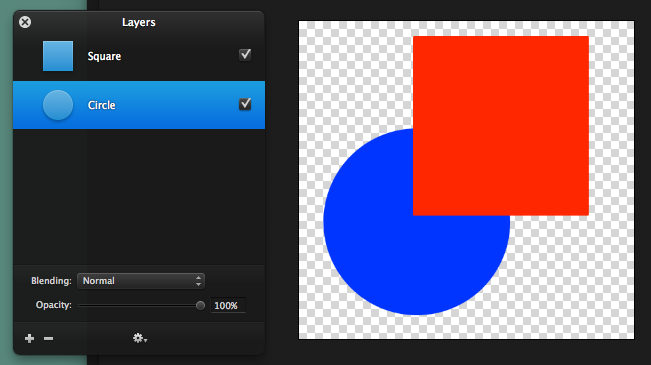
In this example, the square layer is the one on top. Because the shapes overlap, the square shape overlaps the circle.
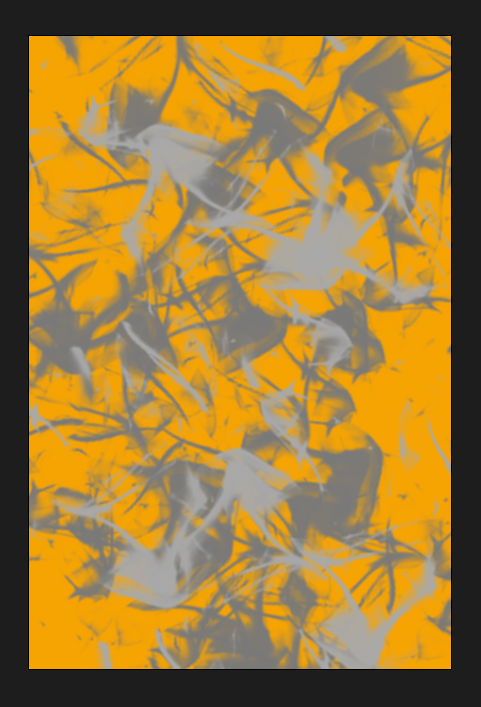
With the new layer, I went ahead an chose an abstract-type brush, and brushed on one of dark gray and one of light gray:
If you want to further experiment or expand on your design later, you can save your artwork in the program's own format. But additionally you'll need to export it to a .PNG format so that the iPhone can display it properly. Save it to your local Pictures folder for now. I named the above artwork "yellow_grey.png".
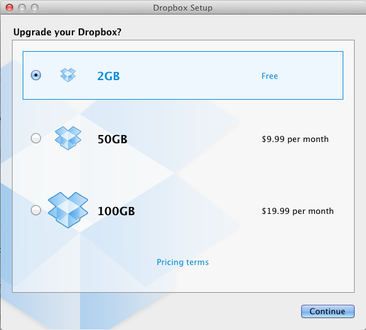
Now go ahead and download Dropbox for your computer. When you launch it, it will prompt you for storage options. You can go with the free 2 GB for now:
Now go ahead and download Dropbox for your computer. When you launch it, it will prompt you for storage options. You can go with the free 2 GB for now:
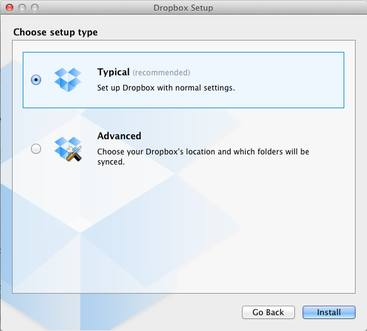
For now, go ahead and select "Typical" for the setup type:
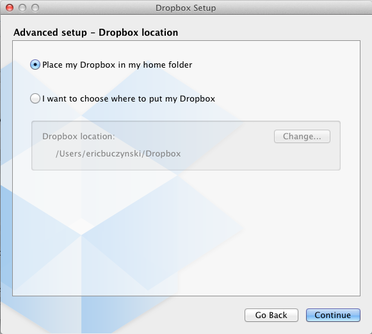
For the location, leave it selected in your Home folder:
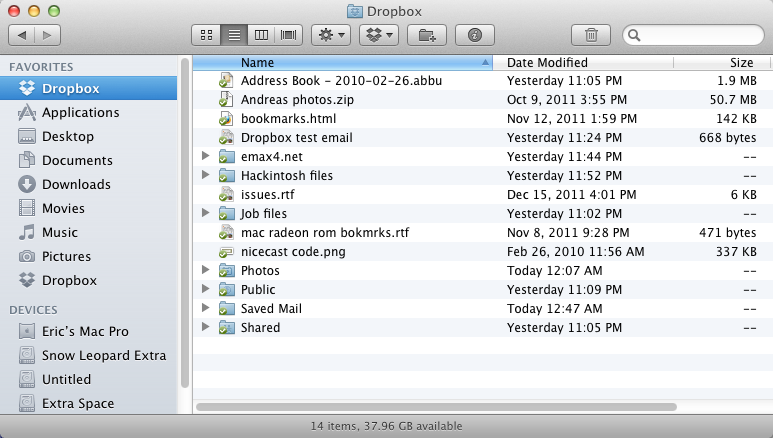
With the installation complete, you will be able to access Dropbox from your Desktop (PC) or the Mac's Finder (shown below):
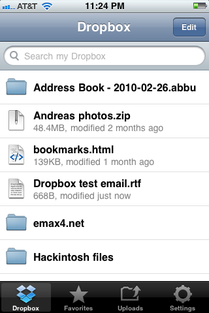
If you haven't done so already, go to Apple's App Store via iTunes or Applications on your iPhone, then download Dropbox for your iPhone. Launch it when the download is finished and you'll be at the home screen (earlier Dropbox version shown):
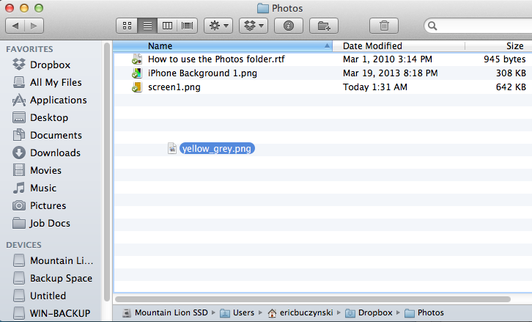
Back at your computer, drag and drop your iPhone background artwork from your Pictures folder to the Photos folder located in the Dropbox folder. This will move the file, not copy it, to The Cloud. If you would prefer to copy it, Option+click and drag the file from your Pictures folder to the Photos folder in Dropbox. The original file will remain on your desktop but now gets copied to Dropbox's Photos folder in The Cloud. Here's the "yellow_grey.png" file being dragged to Dopbox's Photos folder:
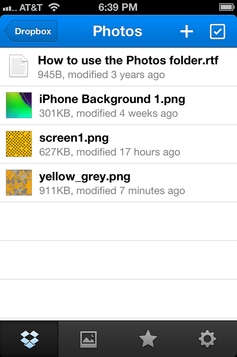
After a few seconds, the file is uploaded. Go to your iPhone and launch Dropbox. Check the folders photo and your artwork should appear:
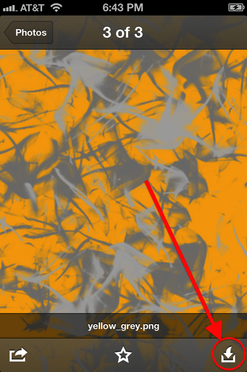
Click the name of your artwork and it will appear, then tap the screen again to bring up the options. Then click the icon at the lower right:
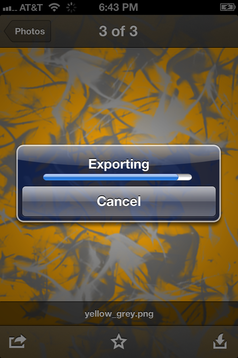
In this menu, tap "Save to Photo Library":

For a second or two, Dropbox will display the status:
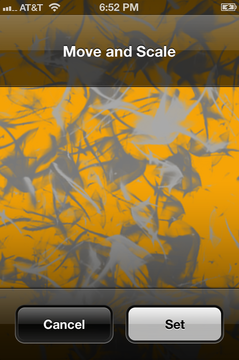
Now we're really close! At this point, press the Home button to get to the home screen. Go into Settings --> Brightness & Wallpaper --> Wallpaper --> Camera Roll. Select your newly uploaded artwork from the Camera Roll, and you'll be prompted to move and scale it. Since no moving or scaling is needed, tap "Set":
Once it's set, you can select to have your artwork as the Lock Screen, Home Screen, or both. I chose both and now have the following background, one that integrates with the color scheme of my iFrogz case:

